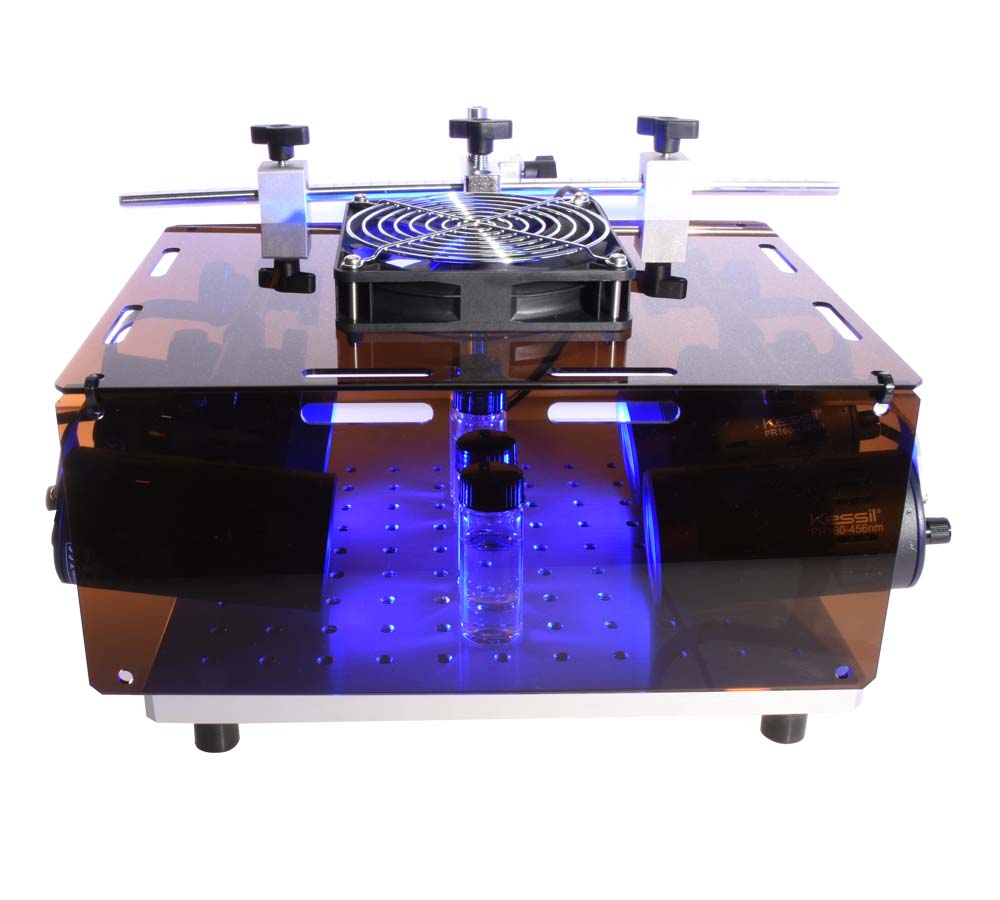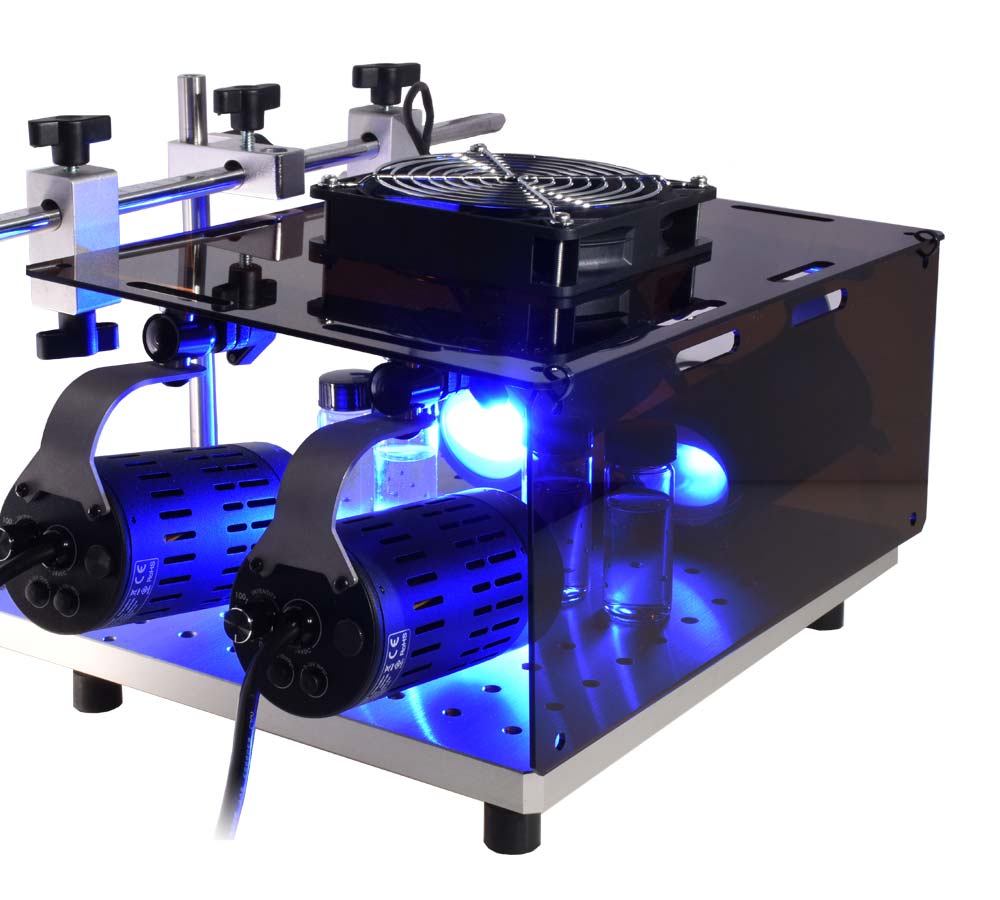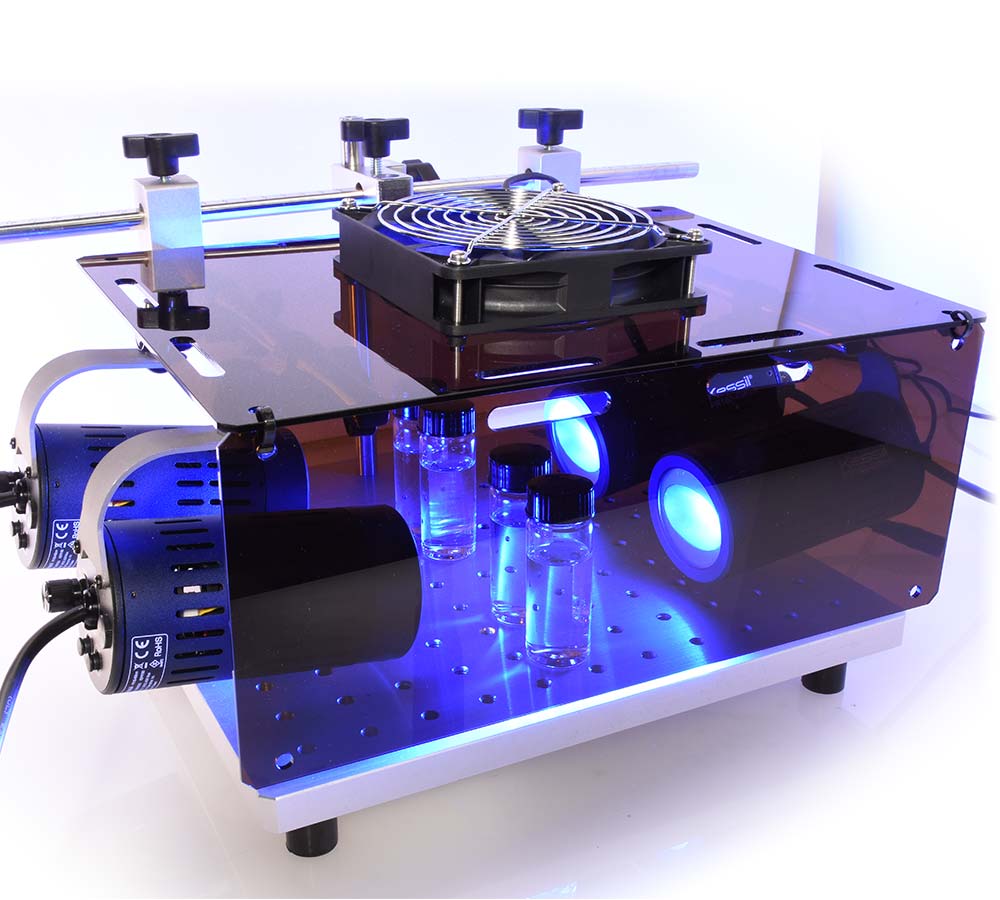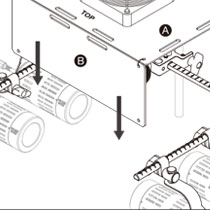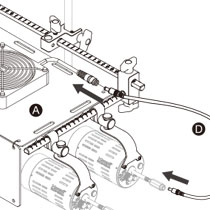
PR160 Rig w/ Fan Kit
Part Number
KSPRRM03
Weight
6.2lb / 2.85kg
Dimensions
W 22.7" x L 13" x H 7.5"
Note 1: The kit does not come with the base.
Note 2: Stir plate can be used. The PR160 Rig w/ Fan Kit is attached to your typical lab supporting bar (monkey bars) - "hanging in the air" above the stir plate
Separator
Product Information
Overview
The PR160 Rig with Fan Kit is a specifically designed mounting system for typical laboratory photocatalytic reactions. It's full adjustability and secure mounting provides consistency, accuracy, and repeatability. The Kit also comes with a powerful fan to blow air from the top efficiently (proved to be more efficient than clamp desktop fan) to keep the reactions at room temperature as much as possible. It also comes with light-blocking shields for lab safety, which blocks all UV light and most blue light.
Separator
What's in the Box
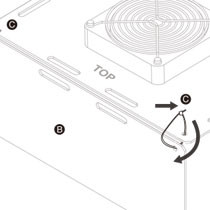
12.6 x 9.06 inches Light-blocking Shield + Fan (x1)
12.6 x 4.72 inches Front Light-blocking Shield (x1)
5.91 inches Black Cable Ties (x4)
Y-split Cable for Fan (x1)
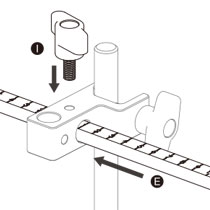
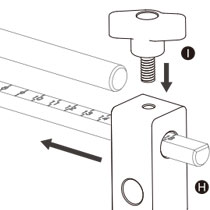
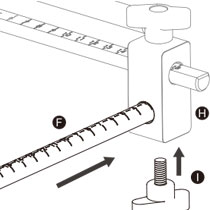
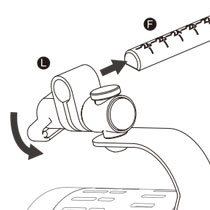
15.75 inches Center Rod (x1)
0.63 inches Side Rod (x2)
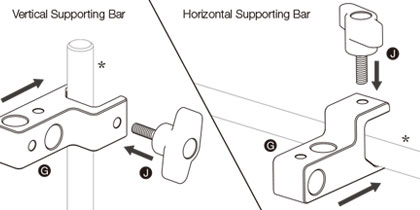
Center Mount (x1)
Side Moun (x2)
¼"-20, 15mm Thumb Screw (x5)
¼"-20, 20mm Thumb Screw (Only for G) (x1)
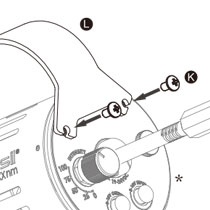
Screw M3 x 5mm Pan Head (Backup screws for PR160) (x10)
Back Arm (x4)
Separator
Compatible with
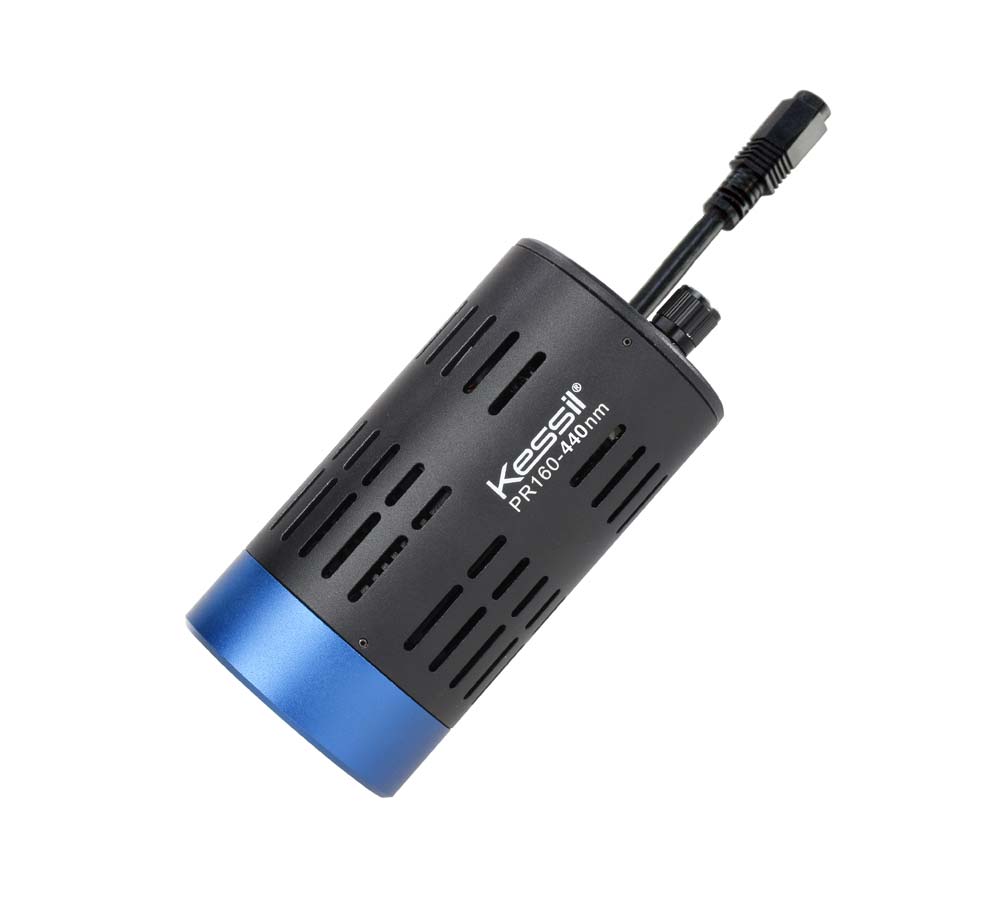
PR160L
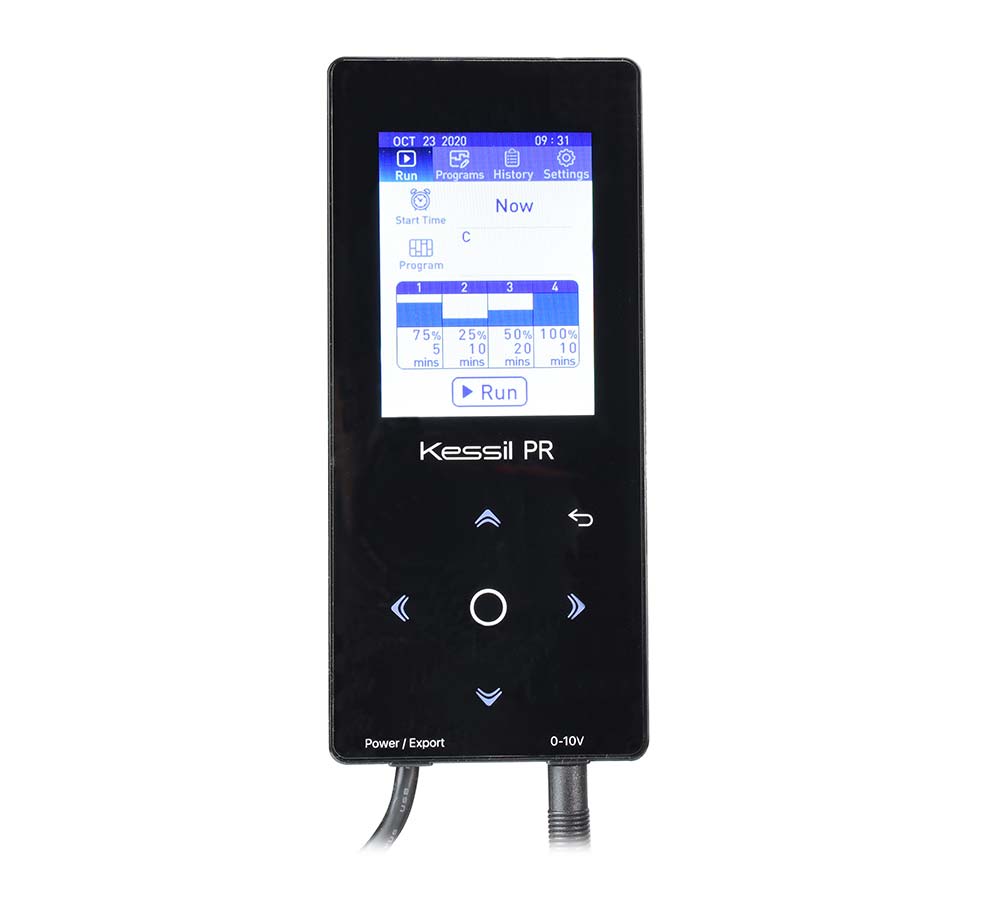
PR Controller
Separator
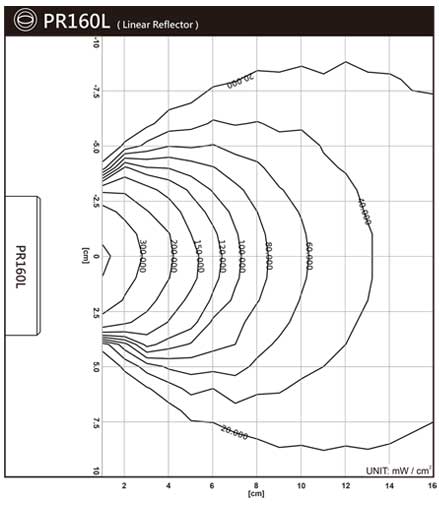
Intensity Maps
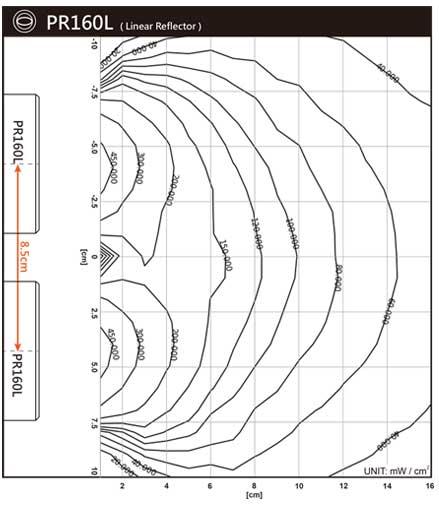
These Intensity Maps are very helpful to determine lamp distance and intensity output. Hard copies are included in the PR160L light package and can be placed under the vials. Multiple vials can be aligned in the same contour line of the same intensity for even light distributionSeparator
Separator
