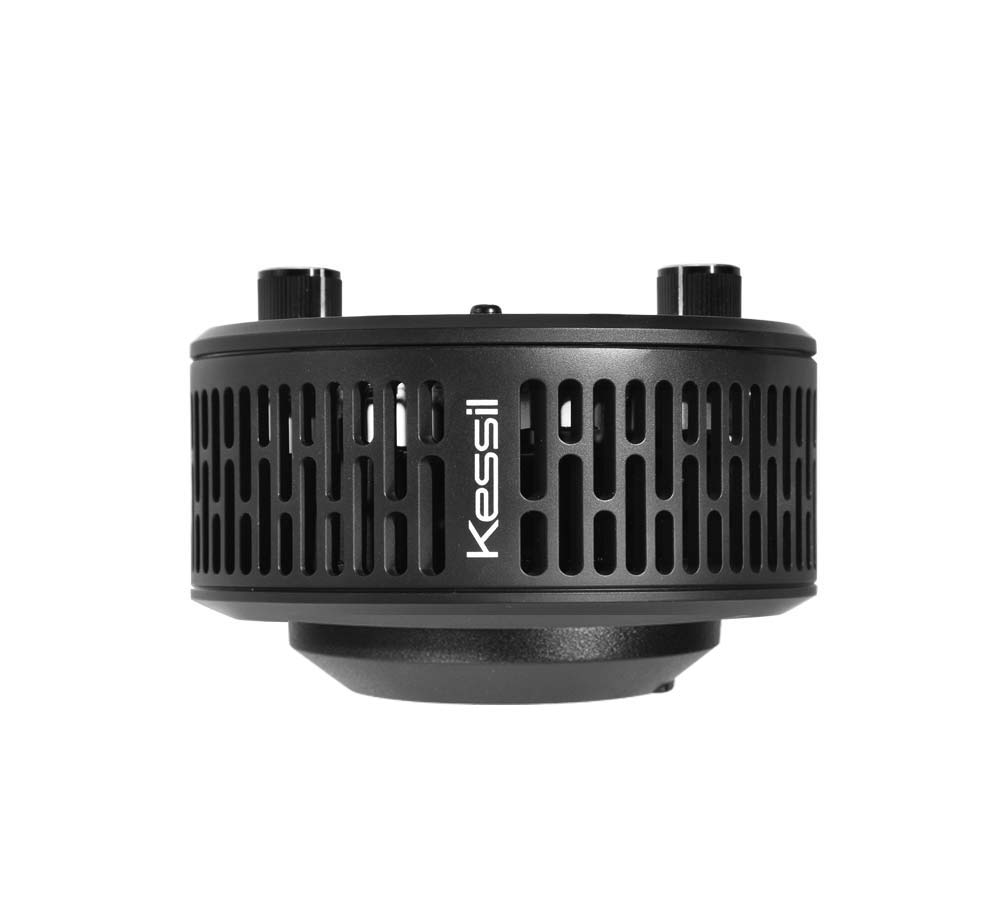
A-Series Gooseneck
Part Number
KSAGN01
Weight
1.92lb / 0.87kg
Dimensions
ø 0.6" x H 23.6"
ø 1.5cm x H 59.9cm
Product Information
Overview
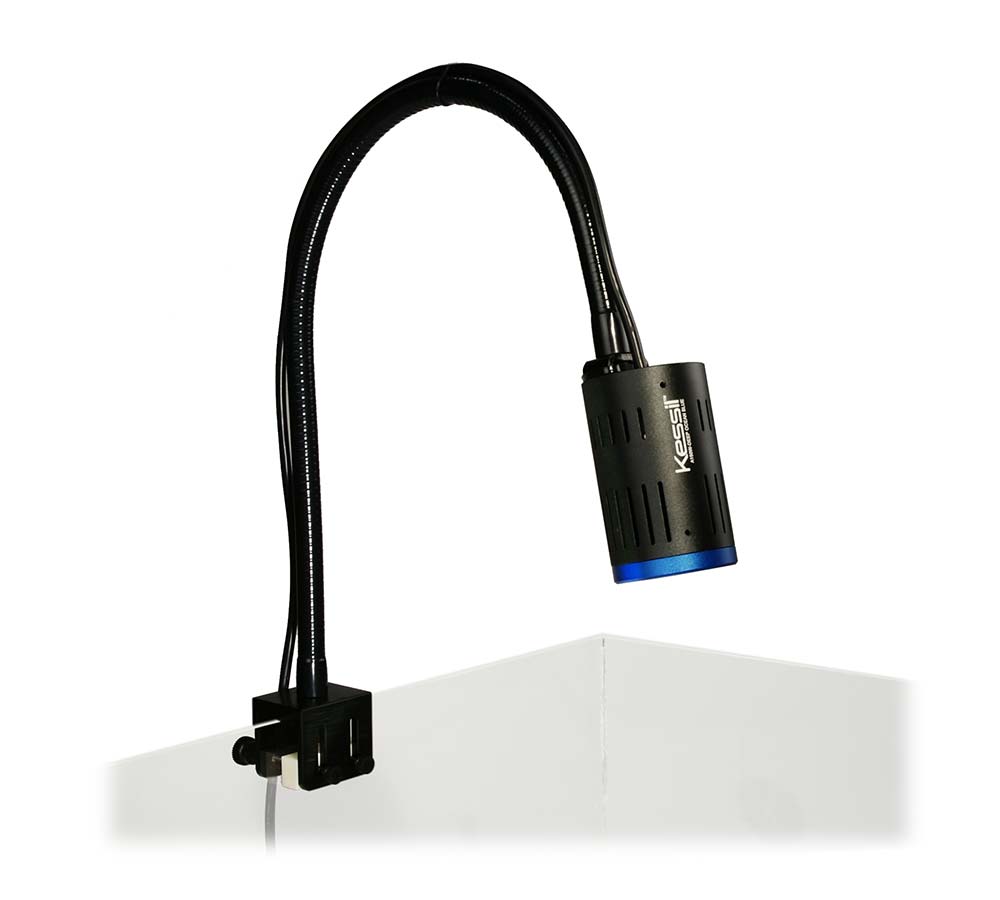
Kessil's A Series Gooseneck is a versatile mounting option that allows you to customize the positioning of your light. Designed to be used on most glass tanks, its 24 in. malleable but sturdy arm provides a strong, adaptable solution to install your Kessil aquarium light.
Separator
What's in the Box
Gooseneck Base (x1)
Plastic Screw (x2)
Plastic Stepper (x1)
Thumb Screw (x2)
Gooseneck (x1)
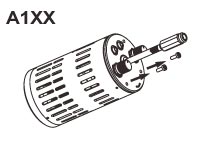
A3XX Bracket (x1)(A1XX Bracket included in the product)
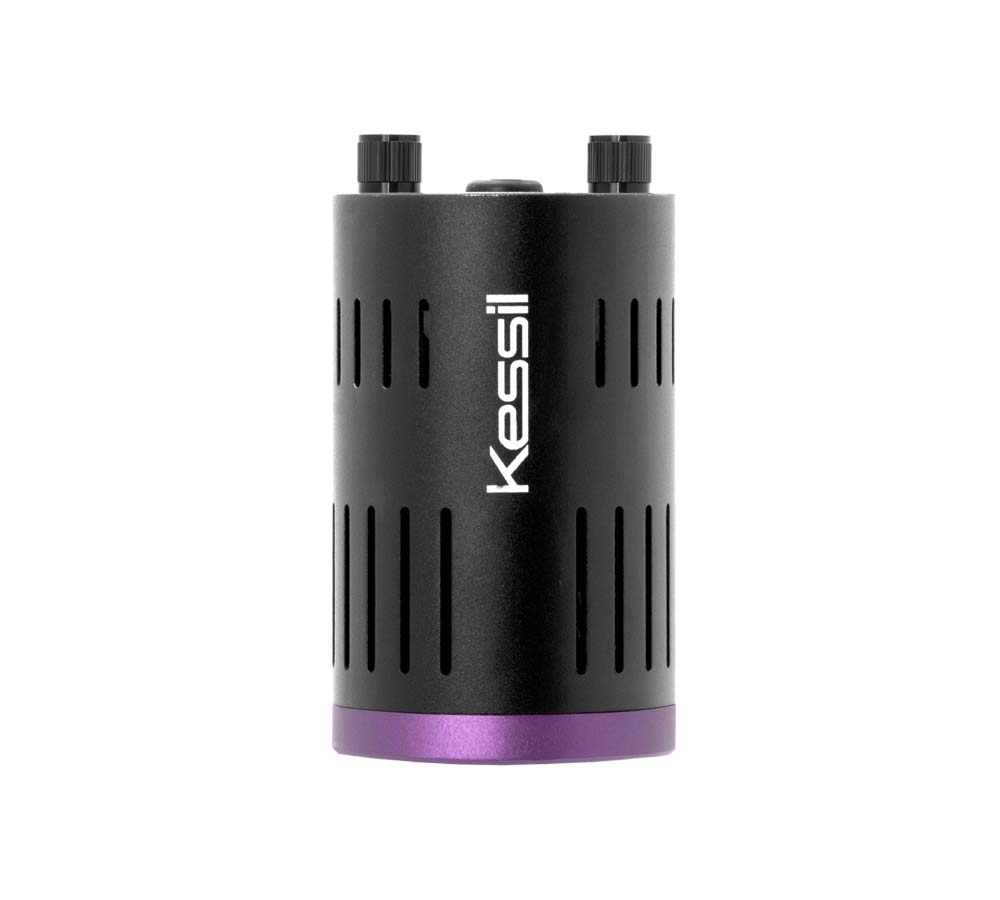
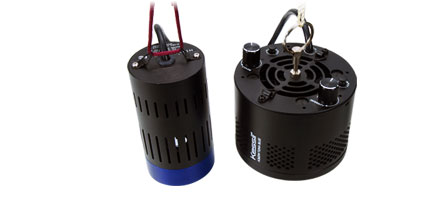
Compatible with
A360XE Tuna Blue
A360XE Tuna Sun
A360X Tuna Blue
A360X Tuna Sun
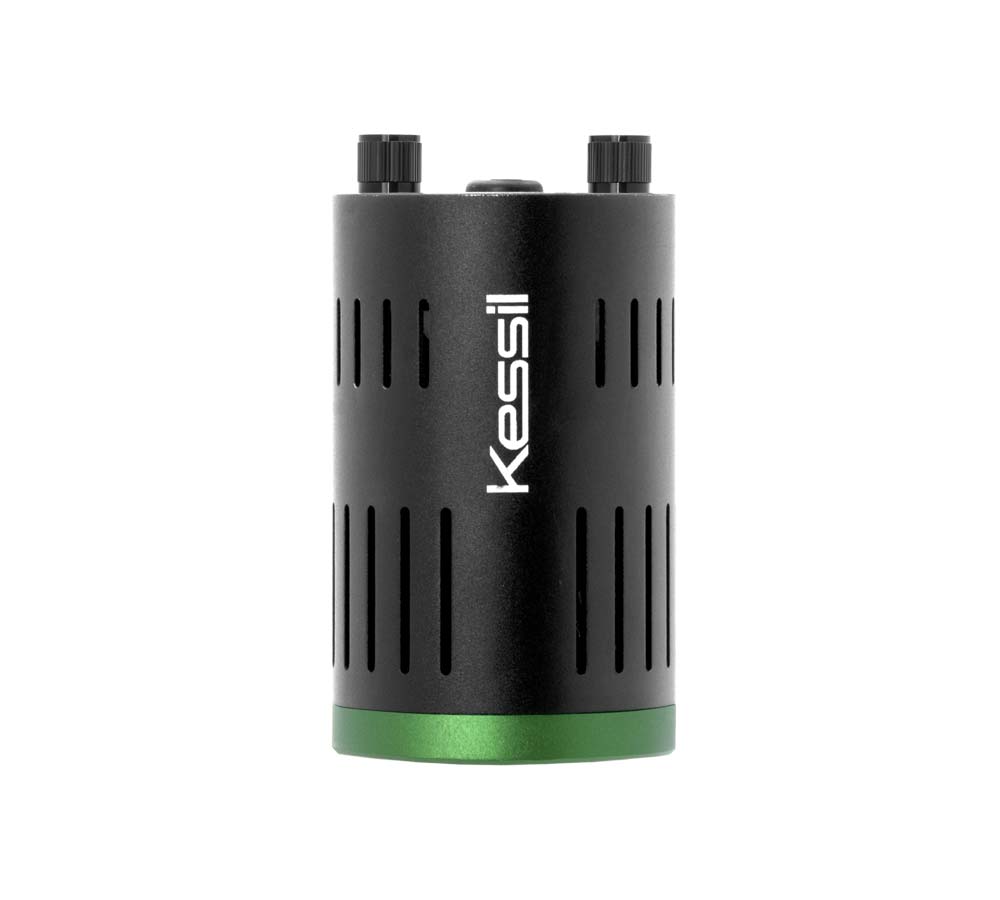
A360X Refugium
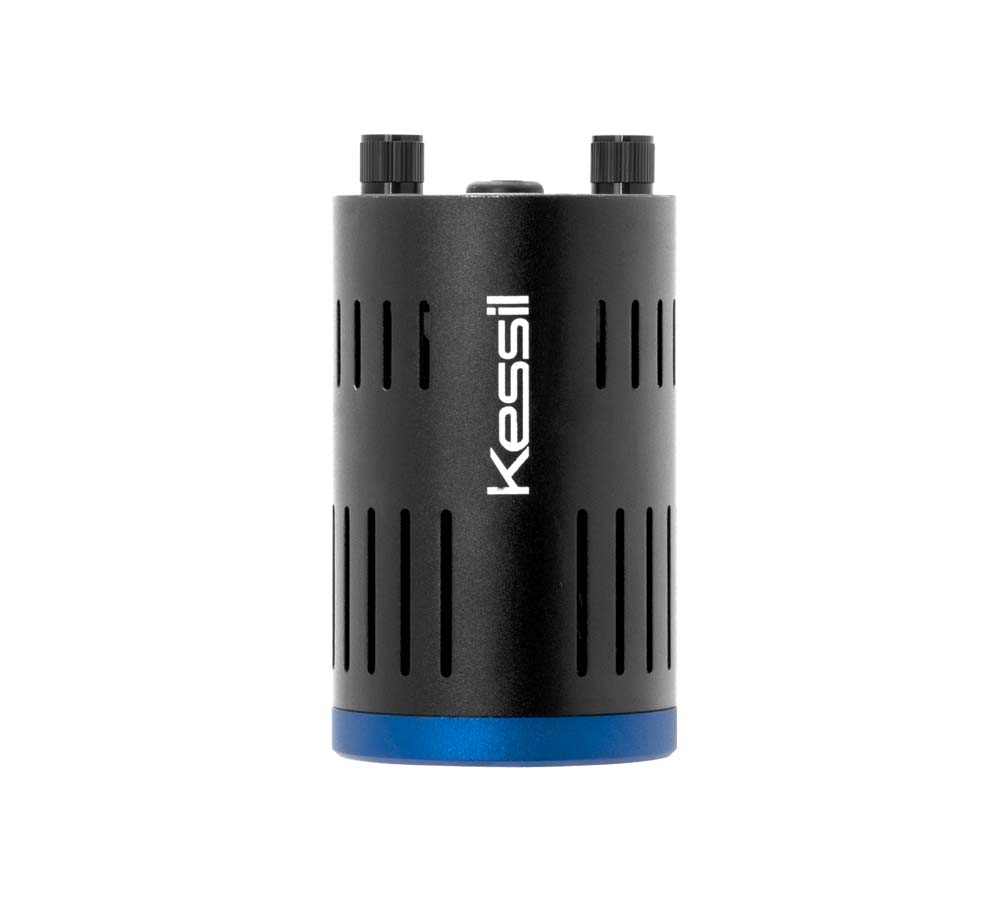
A160WE Tuna Blue
A160WE Tuna Sun
H160 Tuna Flora
We recommend mounting Kessil lights 8-12 inches above the water surface for the ideal coverage.
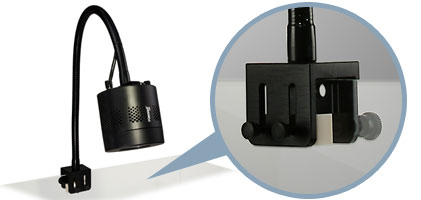
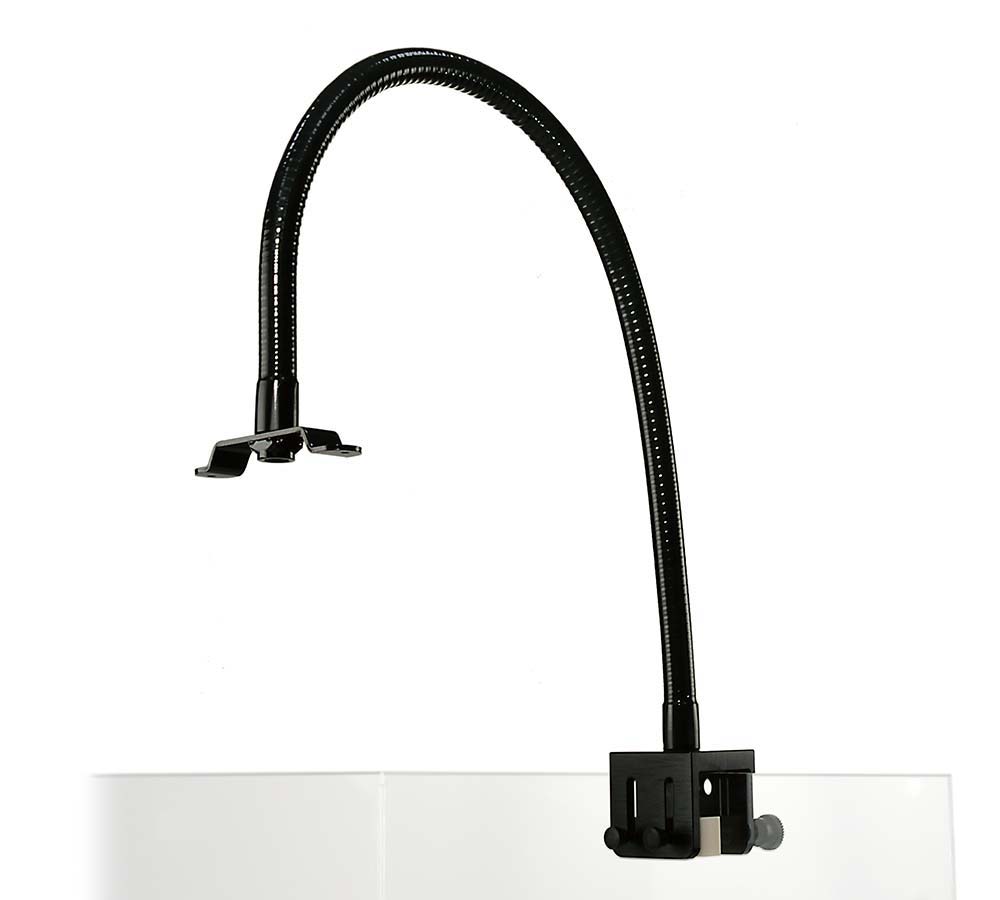
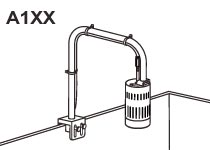
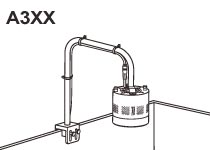
All Kessil aquarium lights are compatible with the A Series Gooseneck. The base of the gooseneck features a clamp that can be mounted onto glass or acrylic tanks and is also compatible with euro brace styles.
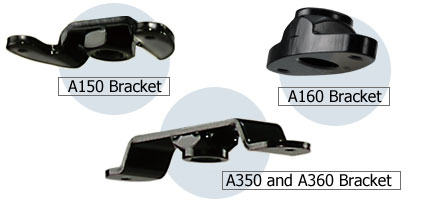
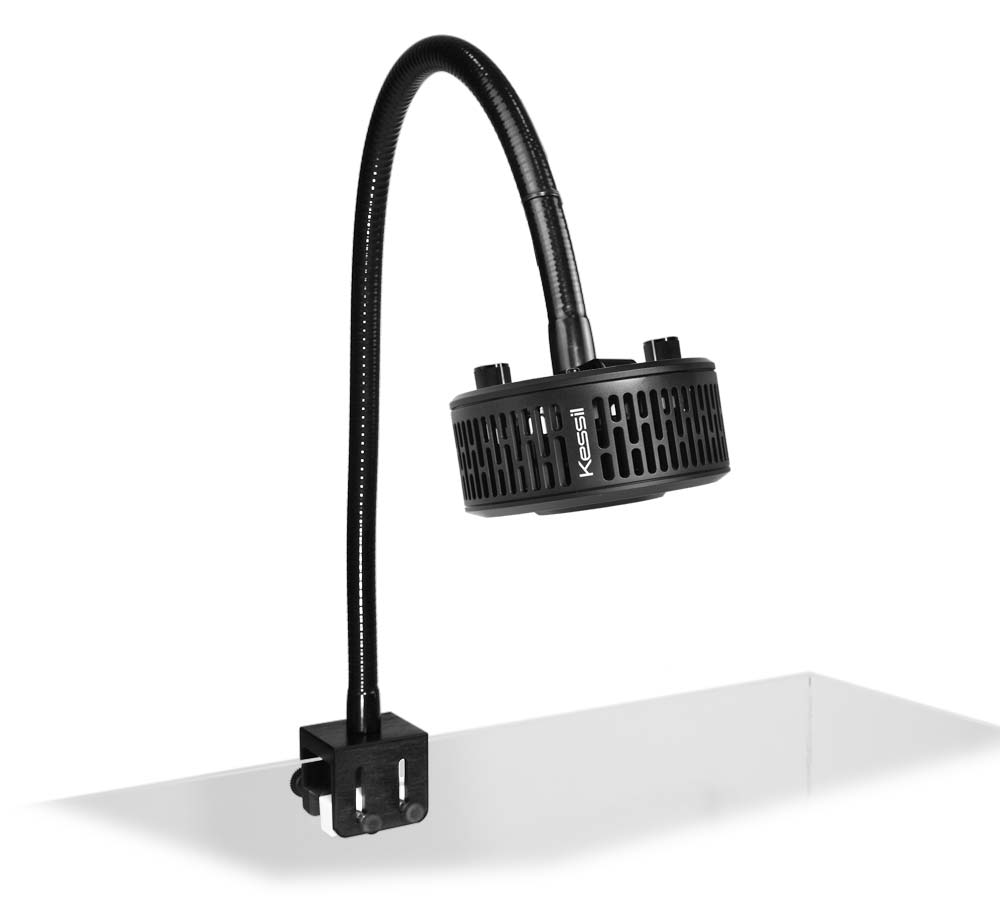
The light attaches onto the gooseneck via a bracket. There are three variations of the bracket one for the A3XX line, and a third for the A1XX line.
The gooseneck package includes the A3XX bracket. The A1XX brackets are included with the light.
The 90 Degree Gooseneck Adaptor can be used to extend the reach of the gooseneck.
(A) Gooseneck base attachment instructions
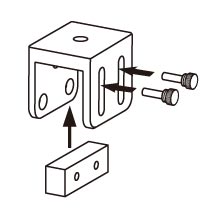
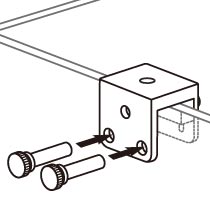
A1
Insert plastic stepper into gooseneck base and secure with plastic screws.
A2
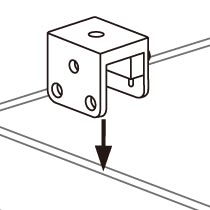
Place gooseneck base onto aquarium.
A3
Screw thumb screws into gooseneck base to secure the base to aquarium.
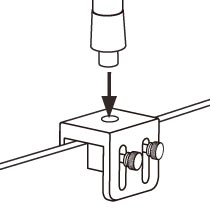
A4
Screw gooseneck into the gooseneck base.

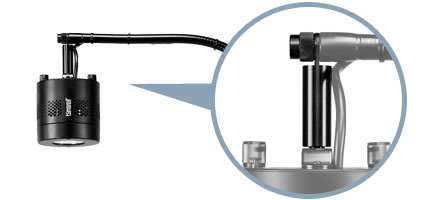
Eurobrace Tanks:
Rotate the gooseneck base so that the clamp lies horizontally, with the side with 3 holes facing up. Follow the above steps for gooseneck mounting.
(B) Unit attachment instructions
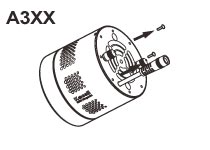
B1
Remove and reserve screws for step B2.
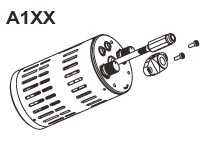
B2
Secure designated bracket to unit with screws from step B1.
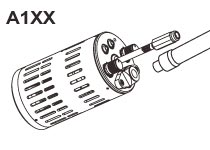
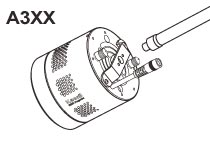
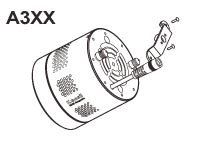
B3
Screw gooseneck to attach the bracket.
B4
Connect the power supply and adjust gooseneck.
Alternative Mounting Options
The A3XX have a removable hanging bolt, which can be used to hang from the ceiling using cables or wires. The A1XX have two triangle clips on each fixture, which can also be used to hang the lights from.
It is also possible to mount the lights inside a canopy. Be sure to allow enough room for ventilation or the fixtures may overheat and become damaged.